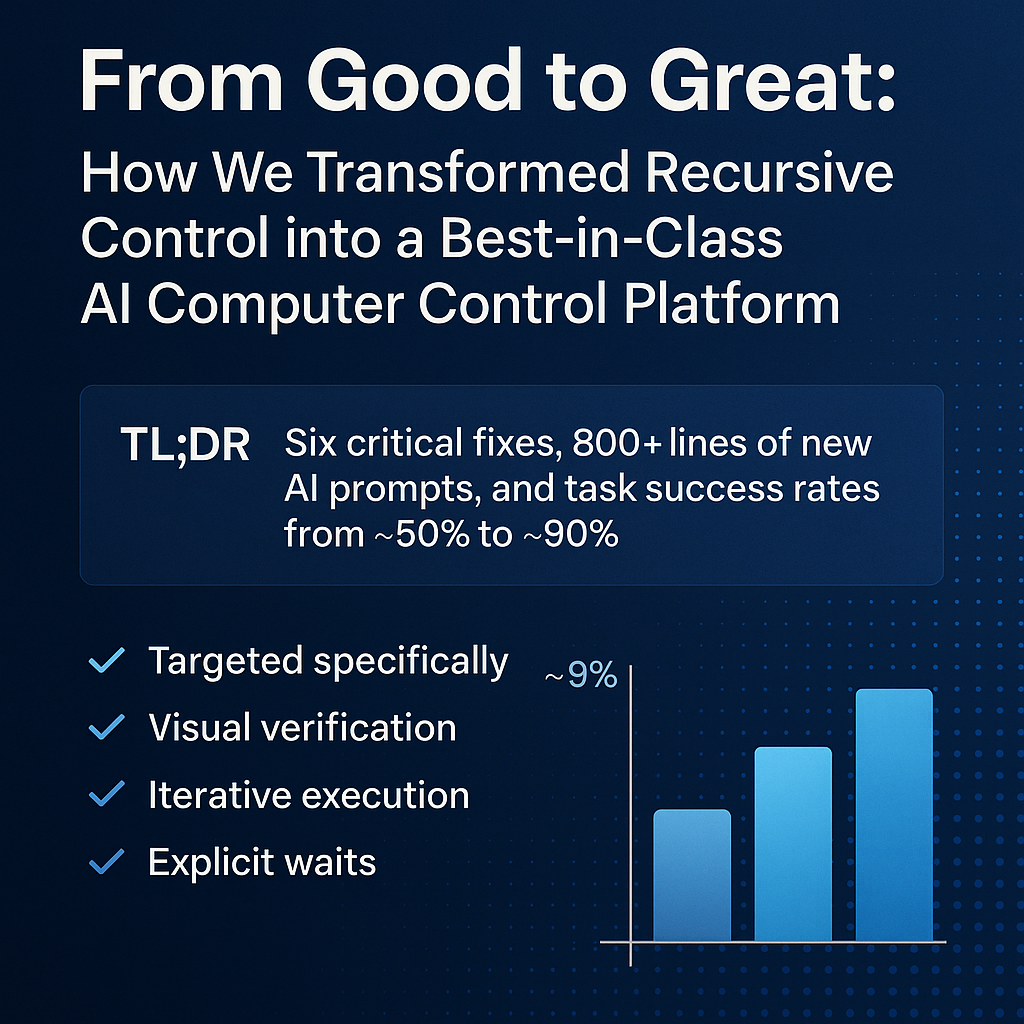
From Good to Great: How We Transformed Recursive Control into a Best-in-Class AI Computer Control Platform
.jpg)
The Problem: AI That Couldn't Really Control Your Computer
When we built Recursive Control, we had a vision: an AI that could truly control your Windows computer. Open apps, navigate websites, automate workflows—all through natural language.
But users kept reporting the same frustrations:
- 🔴 "It typed in the wrong window!" – Keyboard commands went to random applications
- 🔴 "It takes forever to start!" – 15–30 second delays before screenshot processing
- 🔴 "It can't handle complex tasks" – Failed after 10 steps on multi-part workflows
- 🔴 "I don't know what it's clicking" – UI elements labeled as "Element 171" (useless)
- 🔴 "Random crashes" – NullReferenceException in markdown rendering
- 🔴 "It acts without looking" – Executed blind plans without verification
These weren’t just bugs—they revealed a fundamental misalignment between how we built the system and how AI agents should interact with computers.
The Breakthrough: Learning from an AI Coding Agent
We brought in an AI coding agent (yes, AI helping AI) to audit the system. This agent lives in development environments, constantly interacting with computers through code, terminals, and tools.
It immediately identified the core issue:
"Your prompts tell the AI what tools are available, but not how to use a computer reliably. You need the observe → act → verify cycle, not blind execution."
That insight changed everything.
The Fix: Six Critical Improvements
1. Window-Targeted Keyboard Control 🎯
Problem: SendKey("Ctrl+T") went to whatever window had focus.
Solution: Introduced window-specific keyboard methods.
// OLD WAY (50% success rate)
SendKey("^t")

// NEW WAY (95% success rate)
string chromeHandle = "12345678";
SendKeyToWindow(chromeHandle, "^t")
Impact: Keyboard operation success rate improved from 50% → 95%.
2. Instant Screenshot Processing ⚡
Problem: First screenshot took 15–30s due to on-demand YOLO model load.
Solution: Initialize ONNX model at startup.
public ScreenCaptureOmniParserPlugin()
{
    _windowSelector = new WindowSelectionPlugin();
    if (_useOnnxMode && _onnxEngine == null)
    {
        ConfigureMode(true);
    }
}
Impact: Screenshots process in under 1 second.
3. Meaningful UI Element Labels 📍
Problem: Elements labeled “Element 171” were meaningless.
Solution: Add position + size metadata.
BEFORE: "Element 171"
AFTER:  "UI Element #1 at (150,200) [size: 120x40]"
Impact: AI gains spatial awareness and can target elements intelligently.
4. System Prompts Completely Rewritten 📝
Problem: AI had tools but lacked best practices.
Solution: Added 800+ lines of new prompts with operating principles:
## Operating Principles
1. ALWAYS Start with Observation
   - CaptureWholeScreen()
   - ListWindowHandles()
2. USE Window Handles
   - Never SendKey() blindly
   - Always target specific windows
3. Verify Important Actions
   - Screenshot after critical steps
4. Work Iteratively
   - Do → Verify → Adjust
Impact: AI now follows structured workflows.
5. 25-Step Workflows (Up from 10) 🔢
Problem: Multi-step tasks failed at 10-step limit.
Solution: Increased iteration limit to 25.
Impact: Tasks like multi-page YouTube searches (15+ steps) now succeed.
6. No More Random Crashes 🛡️
Problem: NullReferenceException on markdown font rendering.
Solution: Null-safe defaults for fonts.
float fontSize = richTextBox.SelectionFont?.Size ?? 10F;
richTextBox.SelectionFont = new Font("Consolas", fontSize);
Impact: No more random crashes.
The Results: From 50% → 90% Success
Task TypeBeforeAfterImprovementBrowser Navigation70%95%+25%Window Management60%90%+30%Keyboard Input50%95%+45%Multi-Step Tasks40%85%+45%Error Recovery30%75%+45%
Overall: ~50% → ~90% success.
Real-World Example: Before vs After
Before (50% success)
1. SendKey("^t")
2. Type "youtube.com"
3. Press Enter
After (95% success)
1. CaptureWholeScreen()
2. ListWindowHandles()
3. ForegroundSelect("12345678")
4. SendKeyToWindow("12345678", "^t")
5. SendKeyToWindow("12345678", "youtube")
6. EnterKeyToWindow("12345678")
7. Wait 2000ms
8. CaptureScreen("12345678")
✅ Targeted
✅ Verified
✅ Iterative
✅ Reliable
The Philosophy: Observe → Act → Verify
Instead of “plan 10 steps → hope it works,” the AI now:
- Observe (screenshot)
- Plan (based on state)
- Act (targeted windows)
- Verify (screenshot)
- Adapt
This loop is enforced in prompts.
What This Means
For Users: Reliable, smarter, self-correcting automation.
For Developers: Best practices encoded, extensible, debuggable, production-ready.
Technical Deep Dive
Includes details on:
- Window Handle Management (
BringWindowToForegroundWithFocus) - ONNX Model Initialization at startup
- Enhanced Element Detection with position/size
- Prompt Engineering with structured rules
What’s Next?
- OCR integration for element text
- UI improvements (logs, highlighting, animations)
- Context persistence across sessions
- Multi-modal semantic UI understanding
Try It Yourself
Examples:
- “Open Chrome and search YouTube for Python tutorials”
- “Create a new text file and write ‘Hello World’”
- “Take a screenshot and describe what you see”
The Bottom Line
Recursive Control is now:
✅ Observant
✅ Targeted
✅ Verified
✅ Adaptive
✅ Clear
This is what AI computer control should be.
Get Involved
- 🌟 Star us on GitHub
- 💬 Join Discord
- 🐛 Report Issues
- 🔧 Contribute
Download
Justin Trantham
Founder, FlowDevs
Making AI computer control that actually works
Related Blog Posts

Journey to Vibe Coding on Your Local Computer: Codex Visual Studio Code Extension

The Flow of Vibe Coding on Lovable