Vibe coding does not require a complex setup. You can do it on your own computer with a few basic tools. This post walks through the journey, from zero to asking Codex questions inside a real codebase.
I will keep this practical and plain. This is about getting started, not mastering everything.
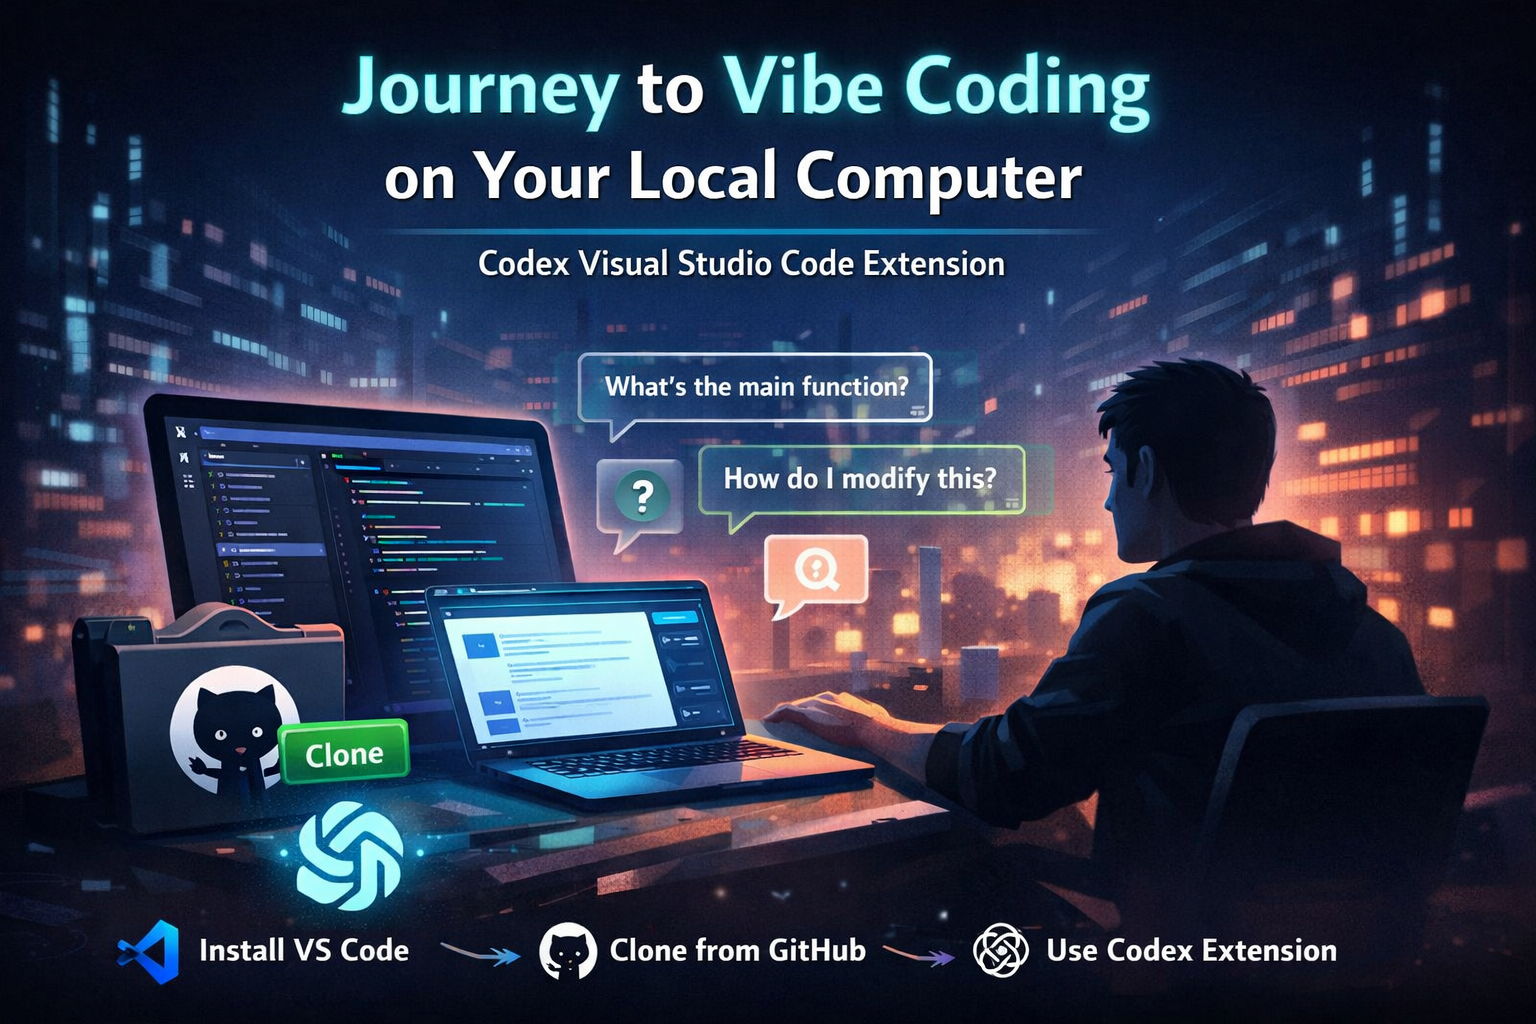
Step 1: Install Visual Studio Code
Visual Studio Code is a free code editor from Microsoft. It runs on Windows, macOS, and Linux.
Go to the Visual Studio Code website and download the installer for your system. Run the installer and accept the default options. When it finishes, open Visual Studio Code.
That is enough to move on.
Step 2: Clone a Repository from GitHub
To vibe code, you need an actual project. GitHub is the easiest place to start.
First, make sure Git is installed on your computer. Most systems already have it. You can check by running git --version in a terminal.
Next, pick a repository on GitHub. Click the green “Code” button and copy the HTTPS clone URL.
Open Visual Studio Code. Open the terminal inside VS Code, then run:
git clone https://github.com/username/repository-name.git
When the command finishes, open the newly created folder in Visual Studio Code. You now have a real codebase on your machine.
Step 3: Install the Codex Extension
Now comes the fun part.
In Visual Studio Code, open the Extensions panel. Search for the Codex (OpenAI) extension. Install it and reload the editor if prompted.
Once installed, sign in or configure it using your OpenAI account. The extension will guide you through this step.
After setup, Codex is available directly inside your editor.
Step 4: Start Exploring the Repository with Codex
This is where vibe coding starts to feel different.
Instead of reading every file, I began by asking Codex simple questions:
- What does this project do?
- How is the folder structure organized?
- Where is the main entry point?
- How does data flow through this app?
Codex responded with explanations grounded in the actual code. It referenced files, functions, and patterns already in the repository. That alone saved a huge amount of time.
I did not feel lost. I felt oriented.
Step 5: Ask Questions, Then Make Changes
Once I understood the project, I started asking more specific questions.
I asked Codex how to modify a feature. I asked where validation lived. I asked how errors were handled. Each answer gave me enough confidence to touch the code.
From there, I made small changes. I ran the project. I broke things. I fixed them. Codex helped explain why something failed and how to adjust it.
This felt less like coding alone and more like pairing with someone who already knew the project.
What Vibe Coding Felt Like Locally
Working locally matters. You see the real files. You run the real app. You deal with real errors.
Codex did not replace understanding. It accelerated it. I still had to think, but I spent less time guessing where to look.
That is the core of vibe coding for me. You stay in flow. You move forward without stopping every five minutes to search docs or trace files blindly.
Final Thoughts
You do not need a cloud IDE or a complex setup to vibe code. Visual Studio Code, a GitHub repo, and the Codex extension are enough.
If you already code, this lowers friction. If you are learning, it removes a lot of early confusion. Either way, it changes how you approach a new codebase.
That is the journey. Simple tools, local control, and a much smoother path into real projects.
Vibe coding does not require a complex setup. You can do it on your own computer with a few basic tools. This post walks through the journey, from zero to asking Codex questions inside a real codebase.
I will keep this practical and plain. This is about getting started, not mastering everything.
Step 1: Install Visual Studio Code
Visual Studio Code is a free code editor from Microsoft. It runs on Windows, macOS, and Linux.
Go to the Visual Studio Code website and download the installer for your system. Run the installer and accept the default options. When it finishes, open Visual Studio Code.
That is enough to move on.
Step 2: Clone a Repository from GitHub
To vibe code, you need an actual project. GitHub is the easiest place to start.
First, make sure Git is installed on your computer. Most systems already have it. You can check by running git --version in a terminal.
Next, pick a repository on GitHub. Click the green “Code” button and copy the HTTPS clone URL.
Open Visual Studio Code. Open the terminal inside VS Code, then run:
git clone https://github.com/username/repository-name.git
When the command finishes, open the newly created folder in Visual Studio Code. You now have a real codebase on your machine.
Step 3: Install the Codex Extension
Now comes the fun part.
In Visual Studio Code, open the Extensions panel. Search for the Codex (OpenAI) extension. Install it and reload the editor if prompted.
Once installed, sign in or configure it using your OpenAI account. The extension will guide you through this step.
After setup, Codex is available directly inside your editor.
Step 4: Start Exploring the Repository with Codex
This is where vibe coding starts to feel different.
Instead of reading every file, I began by asking Codex simple questions:
- What does this project do?
- How is the folder structure organized?
- Where is the main entry point?
- How does data flow through this app?
Codex responded with explanations grounded in the actual code. It referenced files, functions, and patterns already in the repository. That alone saved a huge amount of time.
I did not feel lost. I felt oriented.
Step 5: Ask Questions, Then Make Changes
Once I understood the project, I started asking more specific questions.
I asked Codex how to modify a feature. I asked where validation lived. I asked how errors were handled. Each answer gave me enough confidence to touch the code.
From there, I made small changes. I ran the project. I broke things. I fixed them. Codex helped explain why something failed and how to adjust it.
This felt less like coding alone and more like pairing with someone who already knew the project.
What Vibe Coding Felt Like Locally
Working locally matters. You see the real files. You run the real app. You deal with real errors.
Codex did not replace understanding. It accelerated it. I still had to think, but I spent less time guessing where to look.
That is the core of vibe coding for me. You stay in flow. You move forward without stopping every five minutes to search docs or trace files blindly.
Final Thoughts
You do not need a cloud IDE or a complex setup to vibe code. Visual Studio Code, a GitHub repo, and the Codex extension are enough.
If you already code, this lowers friction. If you are learning, it removes a lot of early confusion. Either way, it changes how you approach a new codebase.
That is the journey. Simple tools, local control, and a much smoother path into real projects.
Related Blog Posts

Case Study: Vibe Coding and AI Debugging with Gemini

Vibe Coding: Crafting Code with Purpose and Passion